


How to Roast Perfect Whole Chicken: Master Classic Techniques & Crispy Skin
Learn essential techniques for roasting perfect whole chicken every time. From prep to carving, master juicy meat, crispy skin, and expert timing with temperature guides and troubleshooting tips.
Quick reference
| Breast Meat (White Meat) | 165°F internal temperature minimum (USDA standard) |
|---|---|
| Thigh/Leg Meat (Dark Meat) | 175-180°F for best texture and flavor |
| Testing Location | Insert thermometer into thickest part of thigh without touching bone |
| Visual Cues | Juices run clear (not pink), legs wiggle easily at joint |
| Safety Note | Always use meat thermometer—color alone is unreliable indicator of doneness |
| 3-4 lb chicken (375-450°F) | 75-90 minutes total roasting time |
| 4-5 lb chicken (375-450°F) | 90-110 minutes total roasting time |
| 5-6 lb chicken (375-450°F) | 110-130 minutes total roasting time |
| High-Low Method | 40 min at 375°F, then 30 min at 450°F for crispy skin |
| Resting Time | Minimum 15-20 minutes loosely tented with foil |
| Dry Breast Meat | Use herb butter under skin. Remove at 165°F in breast. Spatchcock for more even cooking |
| Rubbery or Pale Skin | Pat skin completely dry. Start at higher temp (450°F) or finish at high heat. Don't cover |
| Undercooked Thighs | Check thigh temp (needs 175°F). Position legs toward outside of oven where heat is stronger |
| Uneven Browning | Rotate pan halfway through cooking. Avoid opening oven frequently—causes heat loss |
| Bland Flavor | Season cavity with aromatics (lemon, onion, herbs). Use herb butter under skin. Brine overnight |
| Stuck Skin | Let rest full 15-20 minutes. Use roasting rack. Rub skin with oil or butter before roasting |
Shoppable recipes
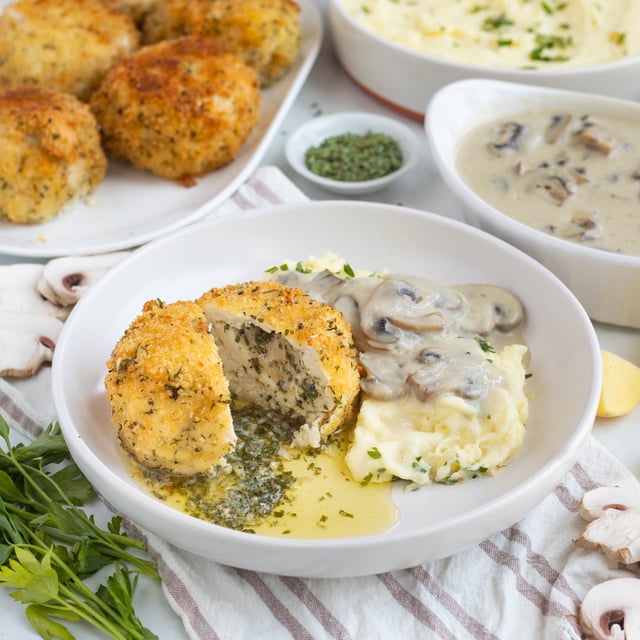
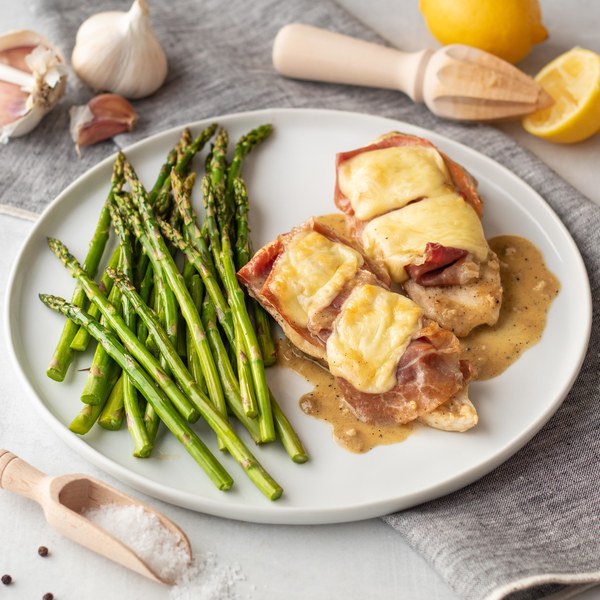
Rather start from a proven recipe? These are ready to shop in one click.
Essential whole chicken roasting techniques & equipment
Choose Your Chicken
Select a high-quality whole chicken for best results. Choose a bird weighing 3-5 pounds for most efficient roasting—larger birds risk dry breast meat before thighs reach safe temperature. Look for plump breast, unblemished skin, and fresh (not frozen if possible) chicken. Organic and free-range options offer superior flavor. Check sell-by date and ensure packaging is intact. Plan 3/4 to 1 pound per person. If using frozen chicken, thaw completely in refrigerator 24-48 hours before cooking—never thaw at room temperature for food safety.
Pro tip: Size Matters: 4-5 pound chickens roast most evenly—larger birds often overcook breast before thighs reach 165°F
Prep Your Chicken
Proper preparation is key to perfect results. Remove chicken from refrigerator 30-60 minutes before roasting to reach room temperature for even cooking. Remove giblets and neck from cavity. Pat chicken completely dry inside and out with paper towels—this is critical for crispy skin. Season cavity generously with salt and pepper, then stuff with aromatics: quartered lemon, halved onion, fresh thyme, and rosemary. These infuse subtle flavor during roasting. Tuck wing tips behind back. Tie legs together with kitchen twine for compact, even shape. This step ensures legs don't splay and overcook.
Pro tip: Dry Skin Essential: Moisture is enemy of crispy skin—pat thoroughly dry and let air-dry in fridge uncovered 1-8 hours if possible
Prepare Herb Butter
Herb butter under the skin creates incredibly moist, flavorful breast meat. In small bowl, combine 4-6 tablespoons softened unsalted butter with minced garlic, lemon zest, chopped fresh thyme and rosemary, salt, and pepper. Mash together until well combined. Using your fingers, gently loosen skin from breast meat, starting at neck opening—work carefully to avoid tearing skin. Spread about 2/3 of herb butter evenly under breast skin, pressing through skin to distribute. Rub remaining butter all over outside of chicken, including legs and wings. This dual-layer approach ensures juicy meat and crispy, golden skin.
Pro tip: Butter Under Skin: Herb butter directly on breast meat bastes from inside while roasting—prevents dry white meat
Set Up and Roast
Position oven rack in lower-middle position and preheat to 375°F. Place chicken breast-side up in roasting pan on roasting rack—this allows air circulation and prevents bottom from steaming. Add 1 cup water to pan bottom to keep drippings from burning (these become gravy). Place in oven and roast 40 minutes undisturbed. After 40 minutes, increase oven temperature to 450°F without opening door—this jump in heat crisps the skin beautifully. Continue roasting 25-40 more minutes depending on size. Begin checking temperature after 65 minutes total: insert thermometer into thickest part of thigh without touching bone—target is 165°F in breast, 175°F in thigh.
Pro tip: Two-Temperature Method: Start moderate (375°F) for even cooking, finish high (450°F) for gorgeously crispy, golden skin
Check Doneness
Properly cooked chicken is both safe and juicy—temperature checking is essential. Insert instant-read thermometer into thickest part of thigh (between leg and breast) without touching bone—this is the slowest-cooking area. Chicken is safely done when thigh reads 165°F minimum, but dark meat is more tender at 175-180°F. Check breast meat too—should register 165°F. Visual cues support thermometer: juices run clear (not pink) when thigh is pierced, legs wiggle easily at joint, and skin is deep golden brown. If breast is done but thighs need more time, tent breast loosely with foil and continue roasting.
Pro tip: Thigh Temperature Key: Check thigh temperature, not breast—it's the slowest to cook and most reliable doneness indicator
Rest and Carve
Resting is absolutely critical—never skip this step. When chicken reaches temperature, remove from oven and transfer to cutting board. Tent loosely with aluminum foil and let rest 15-20 minutes. During rest, juices redistribute throughout meat and temperature continues rising 5-10 degrees. Cutting immediately causes all juices to pour out, resulting in dry meat. After resting, remove twine from legs. Use sharp knife or poultry shears to separate legs from body, then separate thighs from drumsticks. Remove wings. Finally, carve breast meat in thin slices parallel to breastbone. Arrange on warm platter and serve immediately.
Pro tip: Rest = Juiciness: 20-minute rest allows juices to redistribute—skip this and watch all moisture pour onto cutting board
Advanced techniques & making perfect gravy
Spatchcocking for Even Cooking
Spatchcocking (butterflying) produces incredibly even cooking and crispy skin all over. Remove chicken from packaging and place breast-side down on cutting board. Using kitchen shears or sharp knife, cut along both sides of backbone to remove it completely—save for stock. Flip chicken over and press down firmly on breastbone to flatten—you'll hear it crack. Pat dry thoroughly. Season both sides generously. Place flat on rimmed baking sheet. Roast at 425-450°F for 40-50 minutes total—much faster than traditional method. Spatchcocked chicken cooks in nearly half the time with perfectly crispy skin and evenly cooked breast and thigh meat.
Pro tip: Faster + More Even: Spatchcocking reduces cooking time by 30-40% and eliminates dry breast/undercooked thigh problem
Making Classic Pan Gravy
Transform drippings into restaurant-quality gravy. After removing chicken to rest, carefully pour drippings from pan into heat-safe bowl or fat separator. Let stand 2-3 minutes—fat rises to top. Skim off and discard most fat, reserving 3 tablespoons. Alternatively, use fat separator to pour off liquid underneath fat layer. Place roasting pan over medium-high heat (use two burners if needed). Add reserved 3 tablespoons fat and 3 tablespoons flour—whisk constantly for 2-3 minutes until golden and fragrant. This roux is gravy's foundation. Slowly whisk in defatted drippings plus 1-2 cups chicken broth, scraping up browned bits from pan. Bring to simmer, whisking frequently, until thickened (5-8 minutes). Add fresh thyme, taste, and adjust seasoning. Strain if desired. Serve hot with carved chicken.
Pro tip: Fond is Flavor Gold: Those browned bits stuck to pan are concentrated flavor—deglaze thoroughly for richest gravy